Saying that something is “the best” is bandied about to the point it’s hard to be taken seriously. I rarely use the term, although it does score better in an online search. So when I state “this is The Best Gluten-Free Sandwich Bread”, take comfort in the fact it most certainly is the best – it’s the best I’ve eaten anyway. Gluten-free bread is notoriously dry, ordinary and supermarket-bought contains a plethora of preservatives and such to make it palatable. Yet still it fails to deliver. This gluten-free bread has a crunchy crust and a soft, chewy interior. It’s simple to make and only needs a quick rise. I must be a little bossy though: follow the recipe to the letter initially before making any tweaks. This is an adaptation from a wonderful cookbook called ‘Cannelle et Vanille Bakes Simple’ by Aran Goyoaga. I’ve made it at least 20 times and have it to the point where it works well for me. Initially the dough was too wet even with careful weighing of the ingredients. Trial and error have produced what I think, is a bread you’ll love. Just don’t skip any of the ingredients and follow the method to the letter.
Jump to Recipe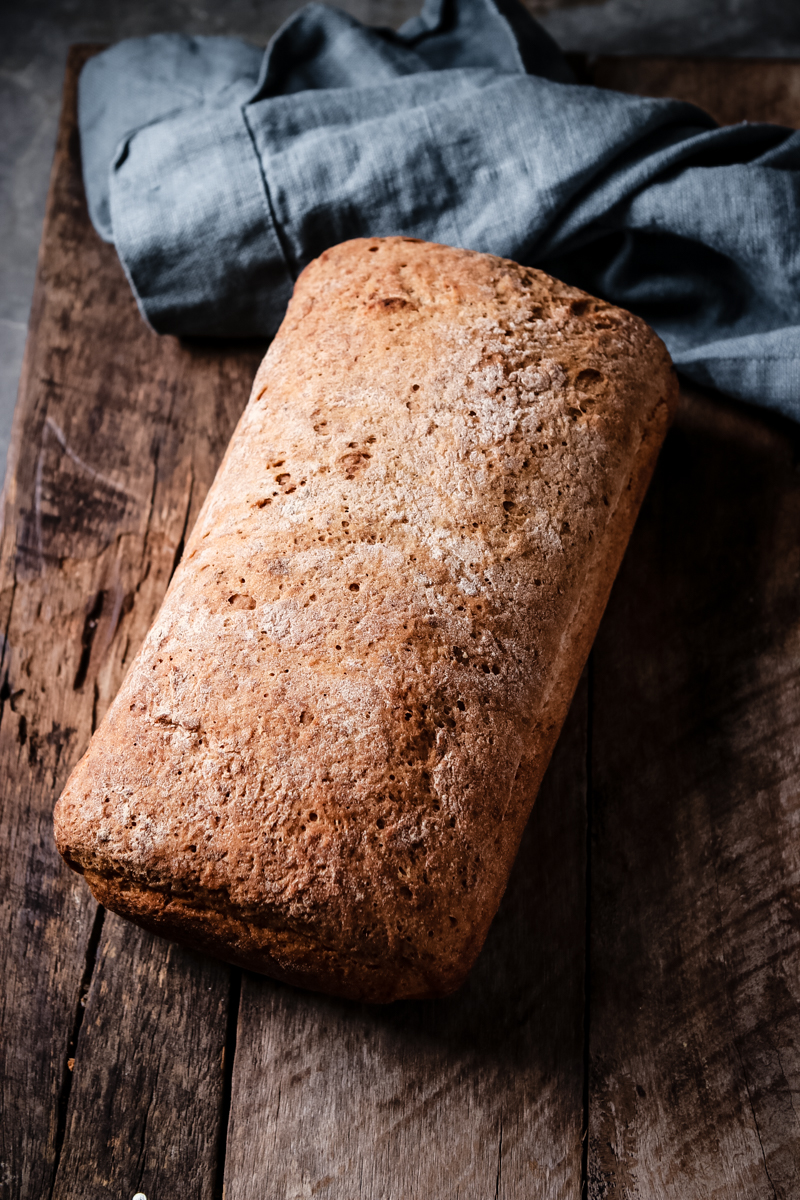
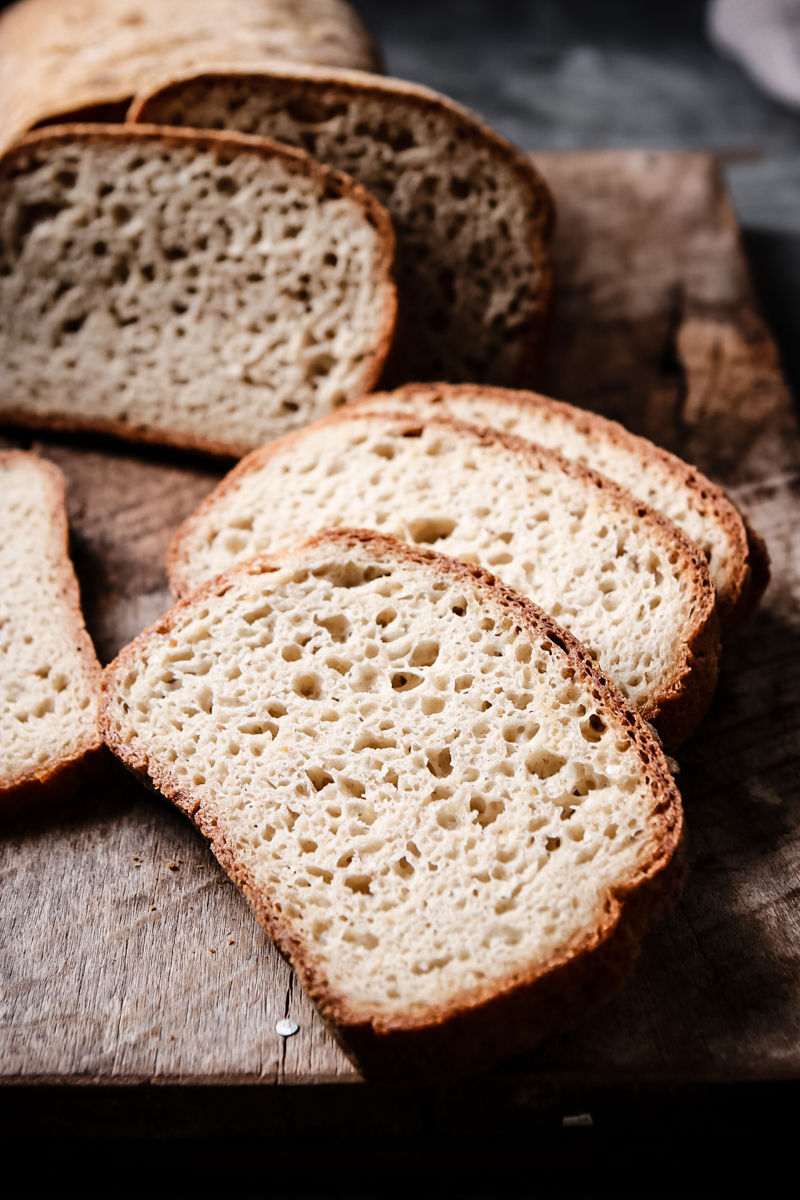
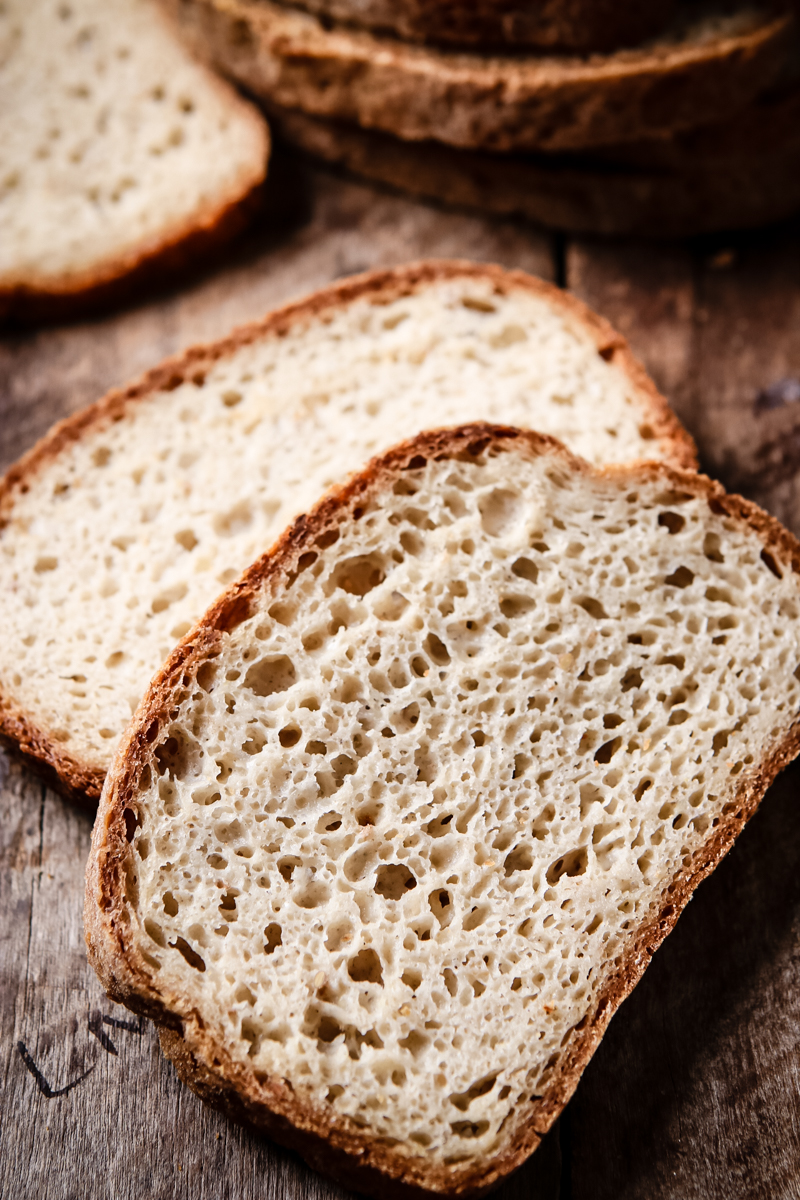
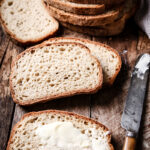
Look at that beautiful burnished crust and, more importantly, look at all those wonderful holes caused from the air pockets formed by the yeast. Together, these create crunchy crust and a chewiness to the bread that resembles a good gluten bread.
Use a good serrated knife. I just bought this Global serrated knife from William Sonoma and it’s a game changer – infinitely better than any of my other serrated knives, which found themselves in the garbage.
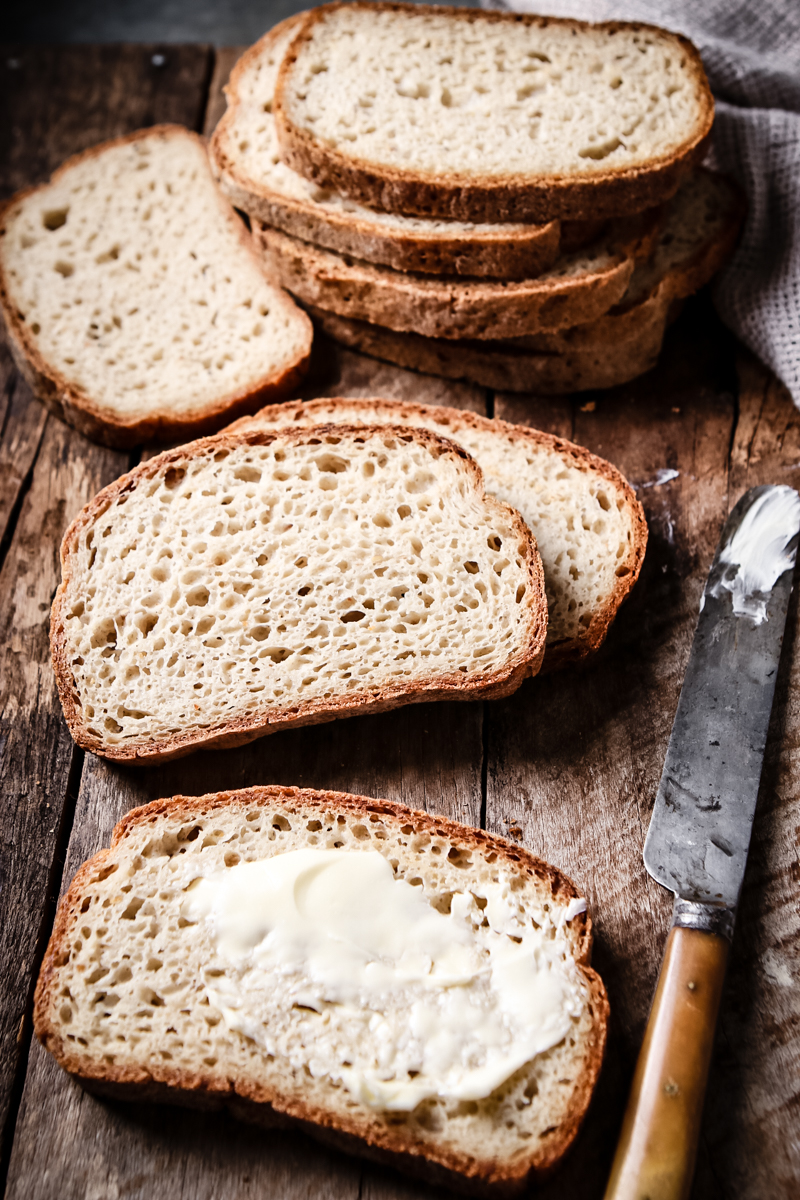
Unlike supermarket-bought bread, The Best Gluten-Free Bread contains no preservatives so it’s delicious day one without toasting but then I like to toast it even though I do freeze it the same day it’s made once it’s cooled.
Some things to note:
- Freezing it ensures I have some on hand always.
- All the ingredients can be found on Amazon or a good whole-food market.
- Make sure the flours are fresh – smell them.
- Brown rice flour and sorghum flours can go rancid so if you’re not intending to make the bread often, then store the flours in the freezer and let them come to room temperature before using.
- I buy the yeast in a small jar as opposed to the sachets or in bulk as I find it is fresh.
- I buy the flax seed whole and grind it in a small blender.
- The psyllium forms a gel when added to water and helps to give the bread chewiness.
- I used to measure the ingredients by weight but find I have a better result measuring using cup measures and leveling them with the back of a knife.
I love a good sandwich and find a sandwich, made right, is one of the best things to have for lunch or a light dinner. Lately, I noticed the gluten in regular bread, even the good stuff I’d buy from a bakery, including sourdough, was starting to mess with my stomach causing it to bloat and me to feel gassy – too much info I know but I know there’s many people who have felt this discomfort. No issues when I eat this gluten-free bread. Here are some sandwiches I love if you’re looking for some insp: Salmon, Avocado and Beet; Steak, Mushroom and Swiss; Bruschetta Grilled Cheese. And don’t be daunted by the length of the recipe, that’s me giving you too much direction to make your end results a loaf of bread you’ll be really happy to tuck into.
THE BEST GLUTEN-FREE SANDWICH BREAD
Equipment
- 9 x 5-inch (24 x 13cm) loaf pan
Ingredients
- 2 1/2 cups distilled or purified water
- 1 Tbsp active dry yeast
- 1 Tbsp honey
- 2 Tbsp psyllium husk powder
- 1 Tbsp ground golden flax seed*
- 1 Tbsp apple cider vinegar
- 1 1/2 cups superfine brown rice flour, plus extra for dusting
- 1 cup sorghum flour
- 1 cup tapioca starch
- 2 tsp fine sea salt
Instructions
- Prepare a 9 x 5-inch (24 –x 13cm) loaf pan by greasing the pan and lining the base and sides with parchment paper.
- In a 4-cup measuring jug or a bowl, combine the water, yeast and honey. Let stand for 10 minutes until the mixture is frothy. This is how you know if the yeast is fresh.
- Add the psyllium, flax and vinegar and stir to combine. Let stand to thicken and gel for 5 minutes.
- In the large bowl of a stand mixer, combine both the flours, starch and salt on a low setting.
- Add the yeast mixture, scraping all the ingredients from the cup into the flour mixture. Beat slowly at first, stopping the machine to scrape down the side of the bowl. When the ingredients are combined, beat on medium-high for two minutes to ensure the ingredients are well mixed.
- Sprinkle a little extra brown rice flour on a clean counter and turn the dough out onto the counter. Shape the dough into a roughly, 8 to 9-inch loaf and carefully lift into the loaf pan. Grease a piece of plastic wrap on the counter and spray or brush it with a non-stick spray or oil. Cover the loaf pan with the plastic wrap and place in a warm place for 45 minutes.
- Meanwhile, turn the oven to 425°F (220°C). When the bread has risen, carefully remove the plastic wrap and bake, uncovered for 1 hour. Carefully remove the bread and the parchment paper from the bread, and bake the bread on the wire rack in the oven for a further 20 minutes or until a deep golden-brown and the bread sounds a bit hollow when tapped.
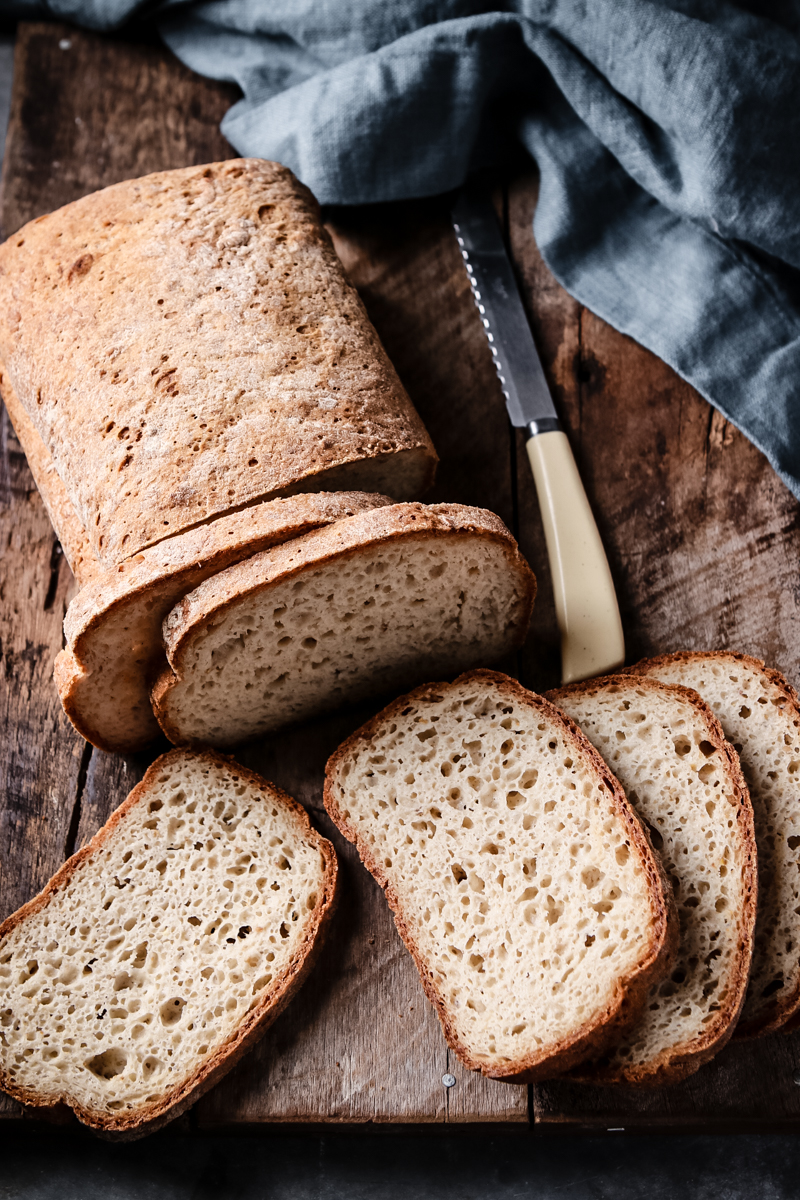
- Cool the bread completely on a wire rack – don’t be tempted to cut it until it’s cold. When completely cold, using a good serrated knife, cut the bread into slices of your desired thickness. To store, I cut pieces of parchment paper and place between each slice before placing the loaf into a plastic bag and freezing up to 3 months. Thaw before serving. This bread is especially good toasted. Cuts into about 12 to 14 slices depending on thickness. Will make 6 to 7 sandwiches.
Notes
Nutrition

You may also like
 Homemade fajita seasoning is mind-numbingly easy to make & most of the ingre...
 Many of us love flatbread: whether it be garlic naan, a wrap or pita bread fille...
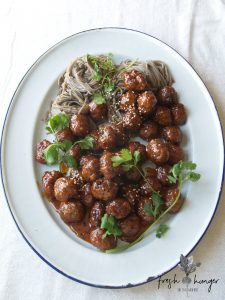 When it comes to enjoying food, there's few of us who don't love a good mea...
 With one base recipe, in this case - chicken, spinach & feta meatballs, you ...
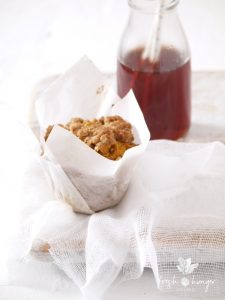 Muffins, the unpretentious cousins to the cupcake, are about one of the easiest ...
 With pumpkin season in full swing in the northern hemisphere & pumpkins &...